Why a Bathroom Mirror Frame Upgrade Changes Everything?
After renovating and styling dozens of bathrooms over the years — from compact college apartments to family homes and rental units — I can confidently say this:
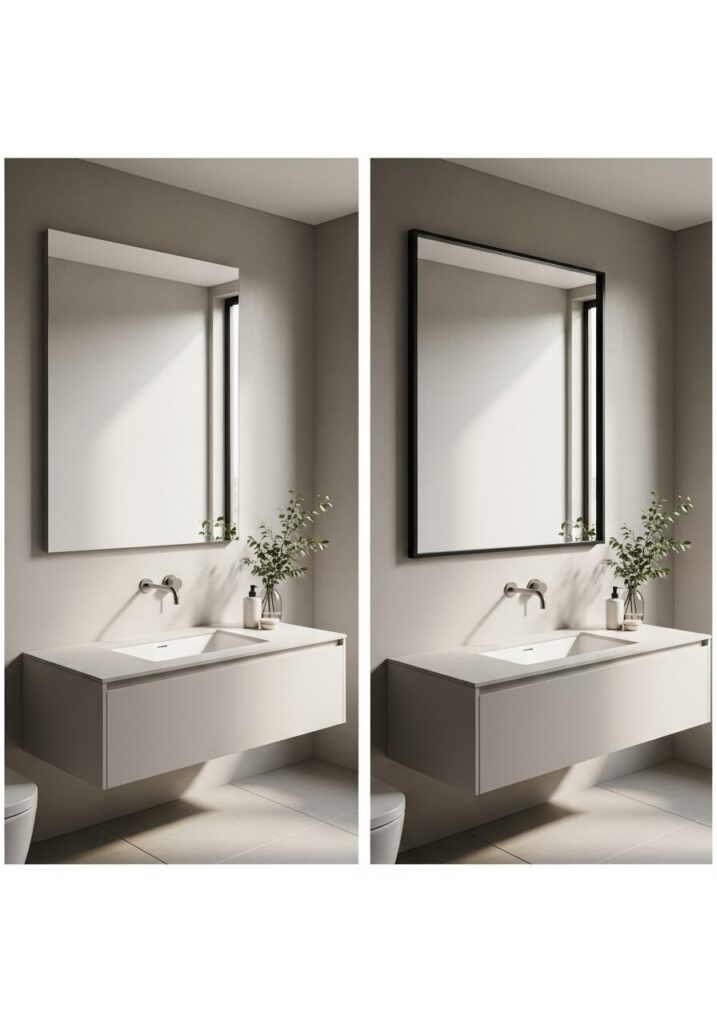
A bathroom mirror frame upgrade delivers the highest visual ROI of almost any DIY project.
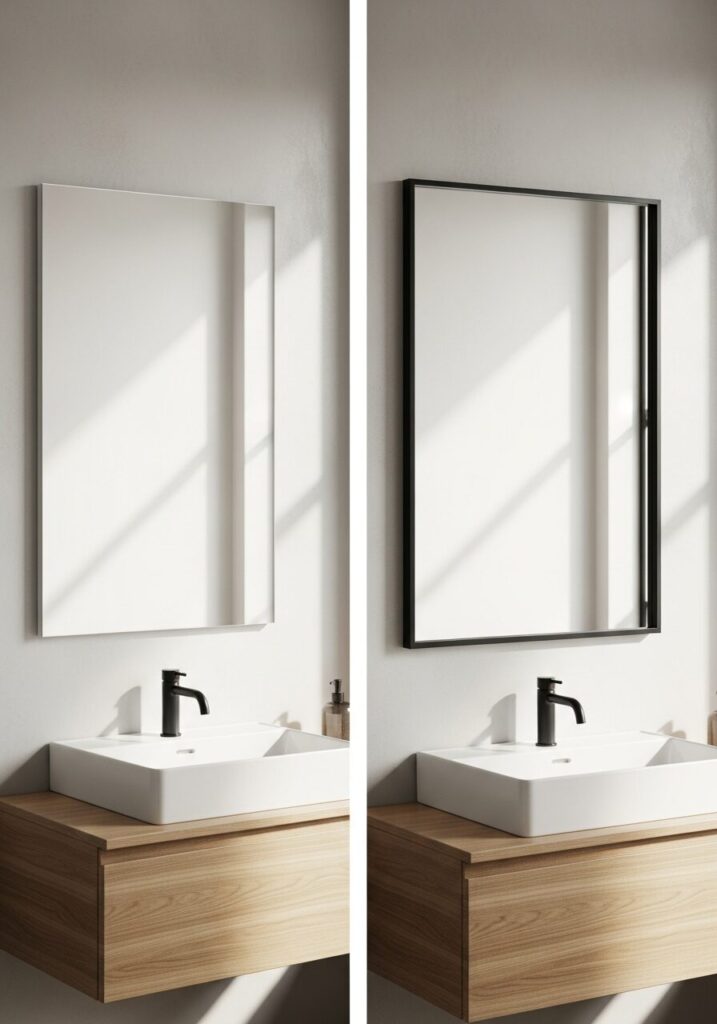
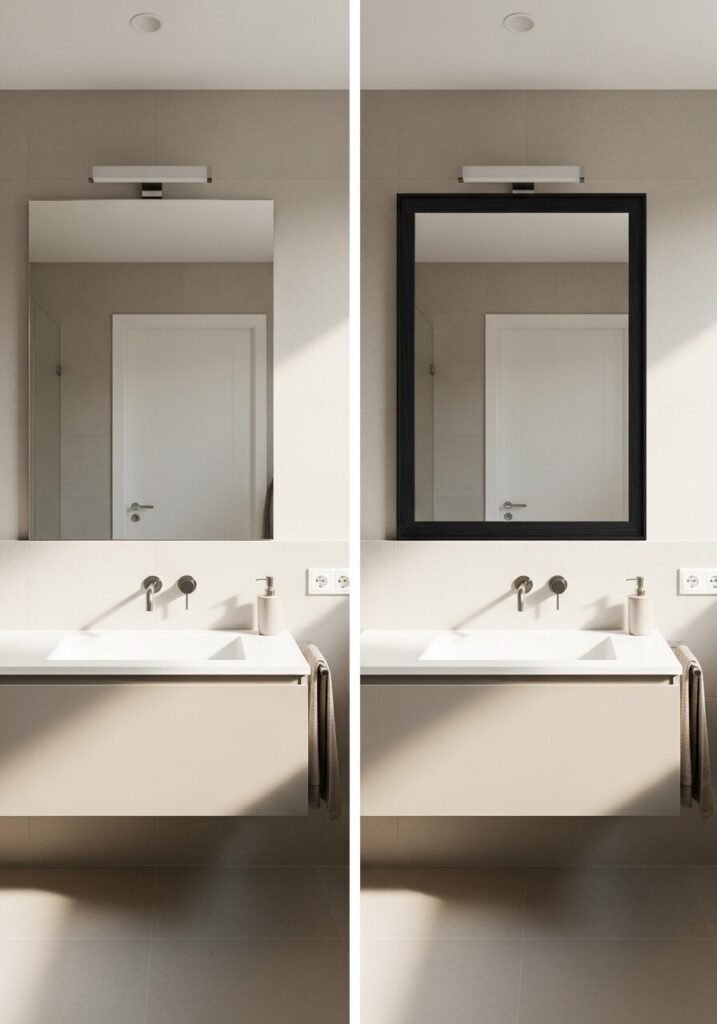
Most bathrooms come with large, frameless builder-grade mirrors. They’re practical, but visually flat. The moment you add a frame, the mirror stops being an afterthought and starts acting like architectural decor.
The best part?
You don’t need to remove the mirror. You don’t need advanced tools. And you don’t need a contractor.
I’ll walk you through the why, how, cost, design logic, common mistakes, and advanced tricks professionals use to make framed mirrors look custom-installed.
What Is a Bathroom Mirror Frame Upgrade?
A bathroom mirror frame upgrade is the process of adding a decorative or structural frame around an existing wall-mounted mirror to enhance aesthetics, depth, and perceived quality — without replacing the mirror itself.
There are three core approaches:
- Adhered frame kits (pre-cut, no saws)
- Custom DIY wood frames (cut + assemble)
- Magnetic or clip-on frames (renter-friendly)
Each serves a different budget, skill level, and living situation — and I’ll break them all down.
Why Designers Love Framed Bathroom Mirrors
From a design standpoint, framing a mirror solves multiple problems at once:
Visual Benefits
- Adds contrast and depth
- Grounds floating vanities
- Creates a focal point
- Mimics custom millwork
Functional Benefits
- Hides mirror edges and adhesive lines
- Protects mirror corners from chipping
- Makes lighting reflections feel warmer
Financial Benefits
- Costs 5–15% of a mirror replacement
- Increases perceived home value
- Rental-safe options available
In real estate staging, framed mirrors consistently photograph better and signal “intentional design.”
Cost Breakdown: What a Bathroom Mirror Frame Upgrade Really Costs
| Method | Typical Cost | Skill Level | Tools Needed | Rental-Safe |
|---|---|---|---|---|
| Adhesive Frame Kit | $80–$200 | Beginner | None | ⚠️ Depends |
| DIY Wood Frame | $40–$120 | Intermediate | Saw, level | ❌ |
| Magnetic Frame | $150–$300 | Beginner | None | ✅ |
| Metal Clip-On Frame | $120–$250 | Beginner | None | ✅ |
Expert insight:
If your mirror is oversized (60–72″), DIY wood frames offer the best cost control.
Design First: How to Choose the Right Frame Style
Before touching tools, decide the design intent.
Frame Style by Bathroom Type
| Bathroom Style | Best Frame Choice |
|---|---|
| Modern | Thin black, matte metal |
| Farmhouse | Distressed wood, wide profiles |
| Coastal | Whitewashed or light oak |
| Minimal | Frameless edge trim |
| Traditional | Molding-style wood frame |
Pro Rule I Use:
Match the mirror frame finish to either your faucet or vanity hardware — never both.
This keeps visual hierarchy clean.
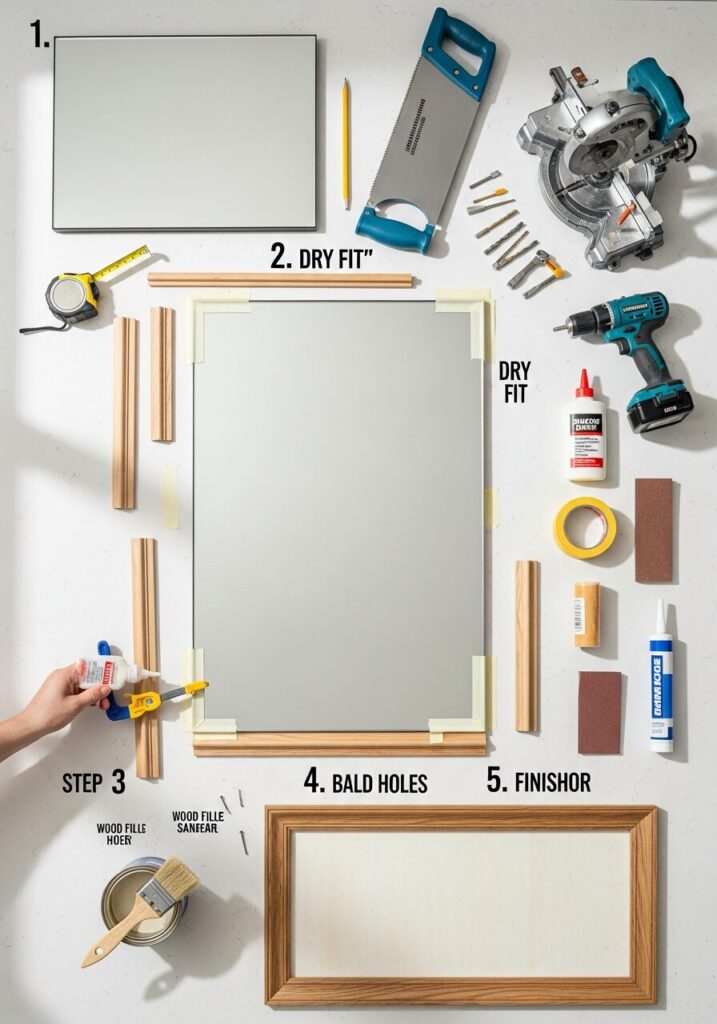
Step-by-Step: DIY Bathroom Mirror Frame Upgrade (Wood Frame Method)
This is the method I recommend for homeowners who want a custom, high-end look.
Tools & Materials
- 1×3 or 1×4 MDF or pine boards
- Miter saw or miter box
- Construction adhesive (mirror-safe)
- Painter’s tape
- Level
- Wood filler
- Paint or stain
Step 1: Measure the Mirror (Not the Wall)
Measure height and width precisely. Subtract ⅛” to allow for expansion.
Step 2: Cut 45° Mitered Corners
Dry-fit on the floor first. Tight miters matter more than perfect length.
Step 3: Pre-Finish the Frame
Always paint or stain before mounting. Touch-ups are easier than drips on glass.
Step 4: Apply Adhesive (Sparingly)
Use mirror-safe adhesive in vertical beads. Avoid silicone that can off-gas and discolor backing.
Step 5: Mount + Tape
Press firmly, level carefully, and tape in place for 24 hours.
Renter-Friendly Bathroom Mirror Frame Upgrades
If you rent, removal matters more than permanence.
Best Options:
- Magnetic frame systems
- Clip-on aluminum frames
- Removable adhesive molding
Pro renter tip:
Keep original mirror edges visible behind the frame to avoid deposit disputes.
Common Mistakes (I See These Constantly)
❌ Using regular liquid nails
→ Can damage mirror backing
❌ Overly thick frames in small bathrooms
→ Visually crowds the space
❌ Ignoring vanity proportions
→ Frame should align with vanity width
❌ Rushing adhesive cure time
→ Leads to frame sagging
Advanced Pro Tips for a Custom Look
1. Add a ¼” Shadow Gap
Install frame slightly proud of mirror for depth.
2. Use Trim Molding Over Flat Boards
Instant architectural upgrade.
3. Paint Frame in Satin, Not Semi-Gloss
Looks richer and hides imperfections.
4. Extend Frame Slightly Past Mirror
Creates a built-in illusion.
Lighting & Mirror Frames: The Hidden Relationship
Framed mirrors affect how light bounces.
- Dark frames absorb light → warmer mood
- Light frames reflect light → brighter feel
- Metallic frames amplify sconces
Designer trick:
If your bathroom lacks windows, choose lighter frames.
Maintenance & Longevity
- Clean with microfiber only
- Avoid ammonia near seams
- Re-caulk edges annually (if needed)
A properly installed mirror frame lasts 10+ years.