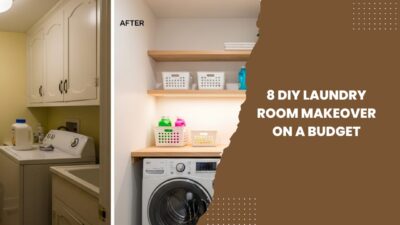
Floating shelves are one of those rare home upgrades that sit at the intersection of function, aesthetics, affordability, and confidence-building DIY success.
I’ve installed floating shelves in:
- Rental apartments where drilling mistakes were not an option
- Small kitchens that desperately needed vertical storage
- Nurseries, bathrooms, and college apartments with uneven walls
- Client homes where “simple shelves” turned into a defining design feature
What I’ve learned is this: floating shelves are not hard — but they are precise.
Most beginner tutorials gloss over crucial details like wall types, load calculations, anchor choices, and long-term sag prevention. This guide does not.
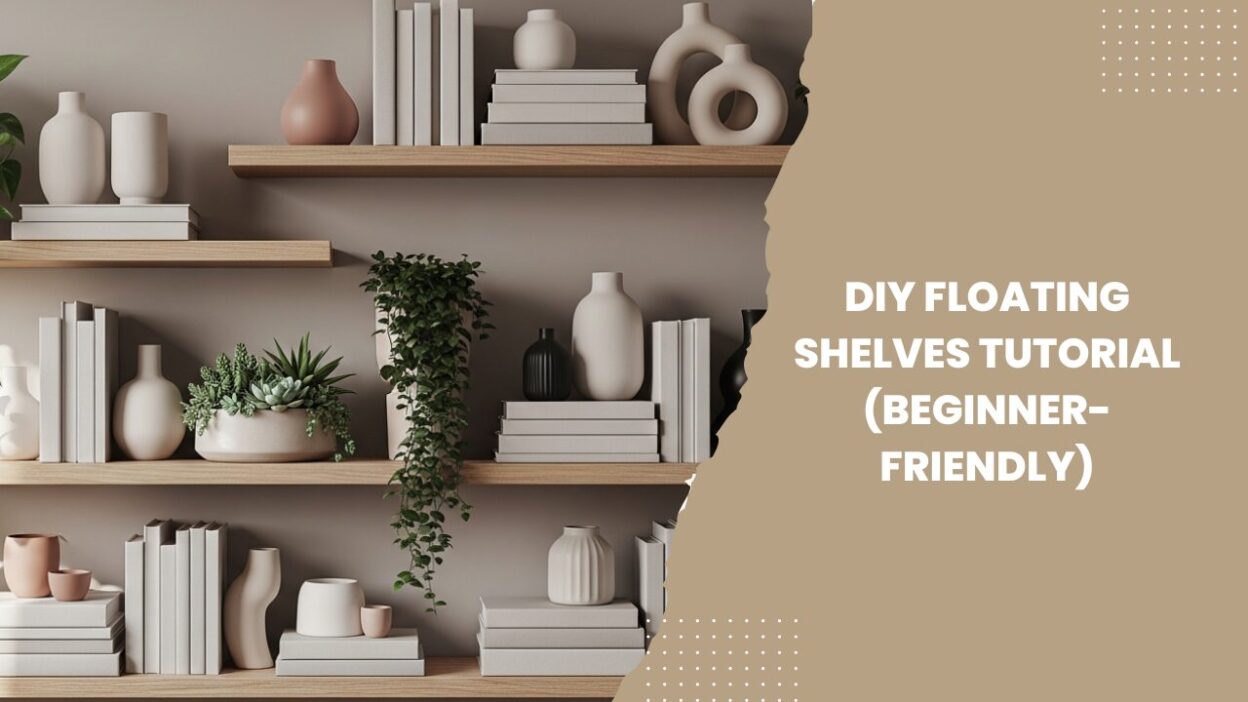
This is a true beginner-friendly floating shelves tutorial, written with professional discipline and real-world constraints in mind — no shortcuts, no fluff.
By the end, you’ll know:
- Exactly what tools and materials you need (and which you don’t)
- How to mount shelves safely in drywall, studs, or masonry
- How to choose shelf depth, spacing, and weight limits
- How to make your shelves look custom-built, not DIY
What Are Floating Shelves?
Floating shelves are wall-mounted shelves designed with hidden brackets or internal supports, creating the illusion that the shelf is “floating” with no visible hardware.
Key Characteristics
- No visible brackets or corbels
- Clean, modern, minimal appearance
- Mounted directly into wall studs or anchors
- Can be decorative, functional, or both
Floating shelves are wall-mounted shelves that use concealed hardware to create a clean, bracket-free appearance.
Why Floating Shelves Are Ideal for Beginners
Contrary to popular belief, floating shelves are more forgiving than many DIY projects.
Why I Recommend Them to First-Time DIYers
- Minimal materials
- Straightforward measurements
- No advanced carpentry required
- Immediate visual payoff
- Scalable difficulty (one shelf or an entire wall)
Micro Case Example:
A renter client of mine installed two 24-inch floating shelves in a bathroom using toggle anchors. Total cost: under $40. Result: doubled storage and a boutique-hotel look.
Tools & Materials Checklist
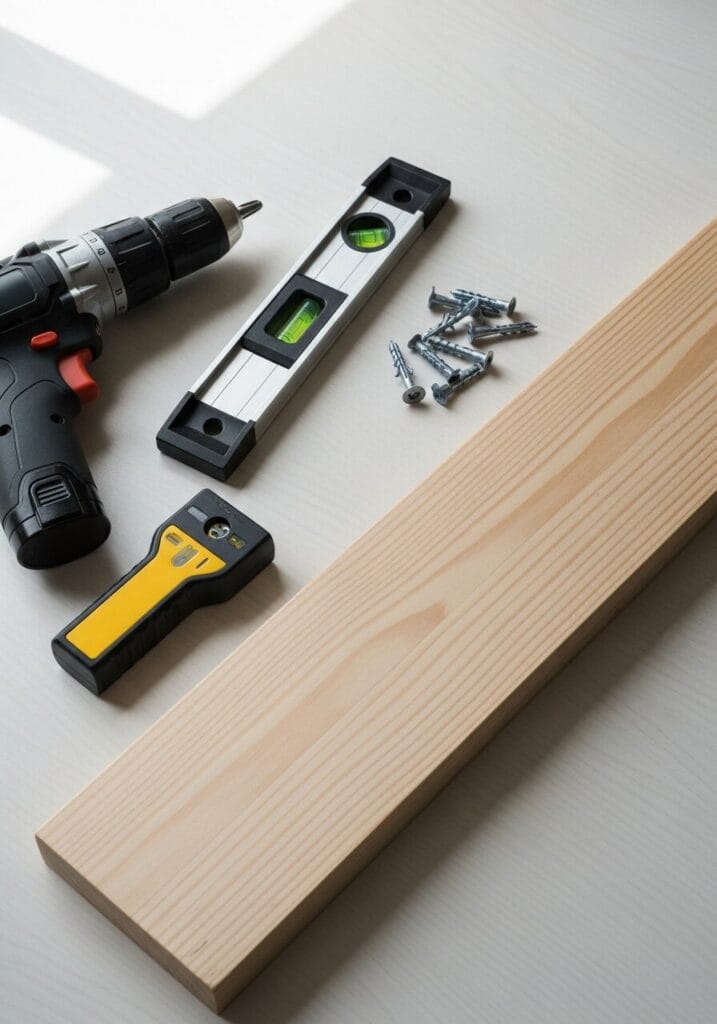
Essential Tools
- Stud finder
- Level (24” preferred)
- Power drill + bits
- Measuring tape
- Pencil
- Screwdriver or driver bit
Materials
- Floating shelf bracket or mounting rail
- Shelf board (solid wood, plywood, or MDF)
- Wall anchors (if no studs)
- Screws (usually included with brackets)
Expert Note:
I always recommend buying better anchors than the kit provides. Hardware is where most shelf failures happen.
Understanding Wall Types Before You Drill
Before mounting anything, you must identify your wall type.
Common Wall Types
- Drywall over wood studs (most homes)
- Drywall over metal studs
- Concrete or brick
- Plaster (older homes)
Why This Matters
Each wall type determines:
- Anchor choice
- Weight capacity
- Drill bit type
- Long-term shelf stability
Beginner Mistake:
Assuming all walls behave like drywall. This is the fastest path to sagging shelves.
How Much Weight Can Floating Shelves Hold?
Weight capacity depends on three variables:
Shelf Strength Formula (Simplified):
Shelf Capacity = Bracket Rating × Anchor Quality × Stud Engagement
Typical Load Ranges
- Anchored into studs: 40–75 lbs per shelf
- Heavy-duty drywall anchors: 20–40 lbs
- Toggle bolts: 30–50 lbs
Rule I Use:
If you plan to store books or kitchenware, hit at least one stud per shelf.
Choosing the Right Shelf Depth, Length & Thickness
Beginner-Safe Dimensions
- Depth: 8–10 inches
- Length: 24–36 inches
- Thickness: 1.5–2 inches (visual balance)
Design Insight
Thicker shelves feel more “architectural” and hide brackets better — a subtle trick designers use.
Floating Shelf Brackets Explained
| Bracket Type | Best For | Skill Level | Notes |
|---|---|---|---|
| Rod-style hidden brackets | Heavy loads | Intermediate | Requires precise drilling |
| Metal rail system | Beginners | Easy | Most forgiving |
| DIY cleat system | Custom builds | Advanced | Strong but time-consuming |
My Recommendation for Beginners:
A metal rail system with pre-drilled holes and leveling tolerance.
Step-by-Step Floating Shelves Tutorial (Beginner-Friendly)
Step 1: Mark Your Shelf Height
- Typical spacing: 12–16 inches between shelves
- Always step back and visually confirm alignment
Step 2: Locate Studs
- Mark stud centers
- If no studs align, plan anchor placement
Step 3: Mount the Bracket
- Level the bracket
- Drill pilot holes
- Secure screws tightly (no wobble)
Step 4: Install the Shelf
- Slide shelf onto bracket
- Lock with set screws (if included)
Step 5: Test & Load Gradually
- Apply downward pressure
- Add items slowly
Common Beginner Mistakes
1. Skipping the Level
Even a 2–3 mm tilt is noticeable once styled.
2. Overloading Immediately
Shelves need a “settling period.” Test before styling heavily.
3. Using Cheap Anchors
Plastic anchors fail silently — until they don’t.
4. Mounting Too High
Eye-level shelves are easier to style and use.
Pro Tips That Instantly Elevate Your Shelves
- Use painter’s tape to preview placement
- Match shelf thickness to baseboards or trim
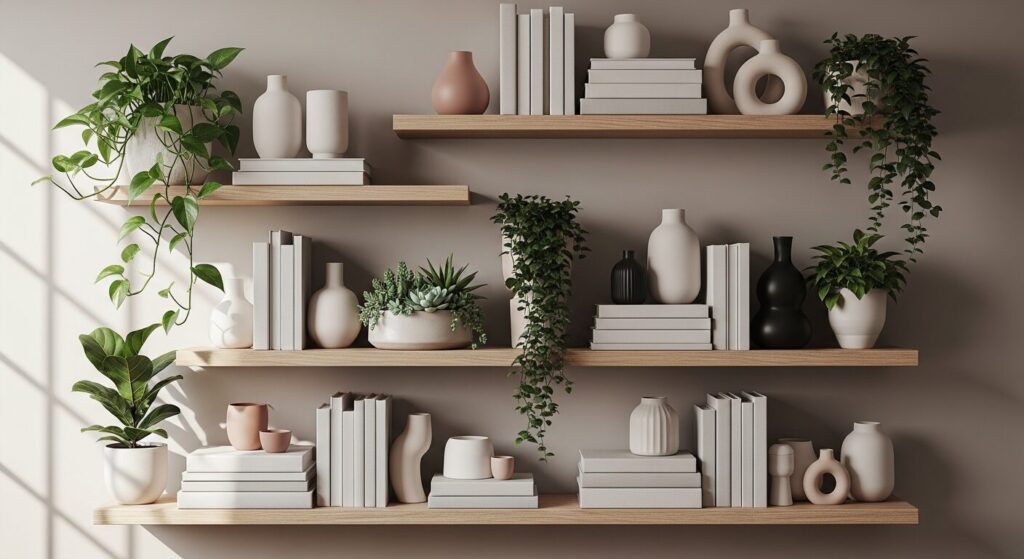
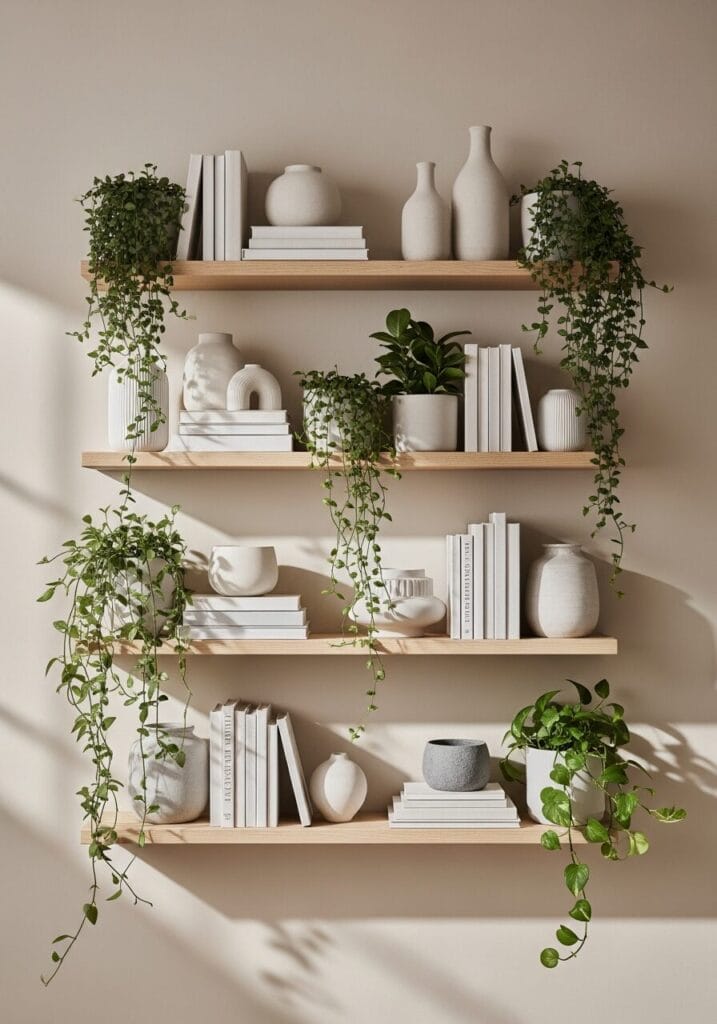
- Leave negative space — empty shelves are intentional
- Style in odd numbers (3 or 5 objects)
Design Insight:
Floating shelves are as much about what you don’t place as what you do.
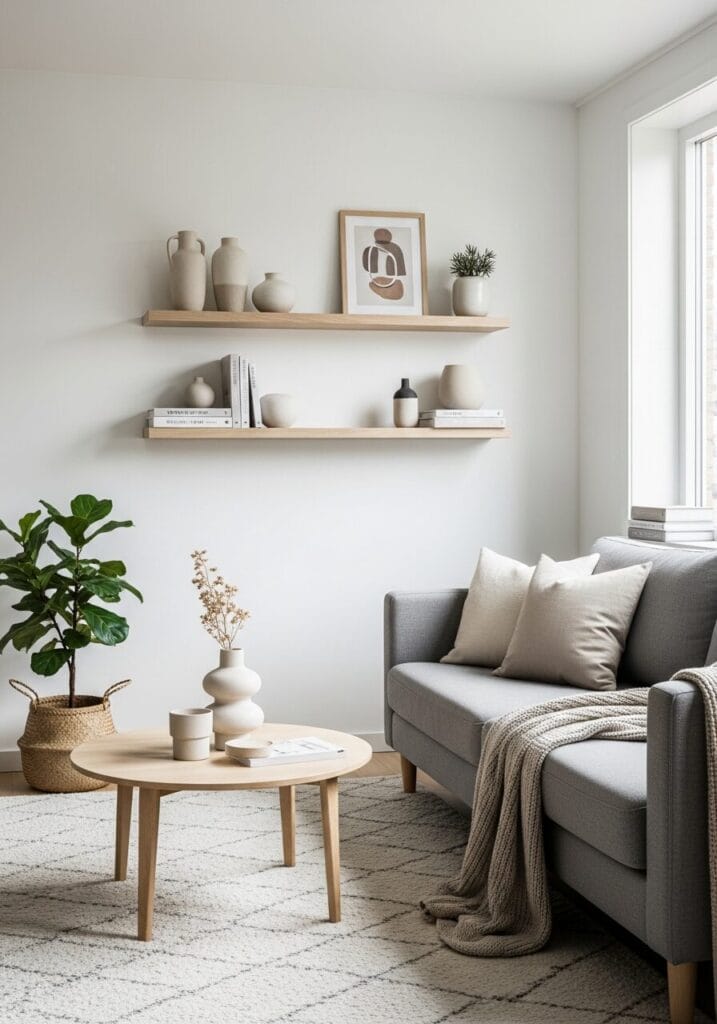
Styling Floating Shelves Like a Designer
Beginner Styling Formula
- One vertical item (vase or frame)
- One horizontal item (book stack)
- One organic element (plant or wood)
Repeat with variation.
Cost Breakdown: DIY vs Store-Bought
| Option | Cost Range | Customization | Skill |
|---|---|---|---|
| DIY Floating Shelves | $30–$80 | High | Beginner |
| Pre-made Retail Shelves | $70–$200 | Low | Easy |
| Custom Carpenter | $300+ | Very High | None |
DIY wins for value + personalization.
Conclusion: Why This Floating Shelves Tutorial Works Long-Term
Floating shelves are not just storage — they’re architecture in miniature.
When installed thoughtfully, they:
- Expand space vertically
- Reduce clutter
- Add warmth and intention
- Increase perceived home value
I’ve installed dozens, fixed dozens more, and taught beginners who were nervous to drill their first hole.
If you follow this floating shelves tutorial carefully, you won’t just install shelves —
you’ll build confidence, skill, and a home that feels designed, not decorated.
Start with one shelf.
Measure twice.
And trust the process.