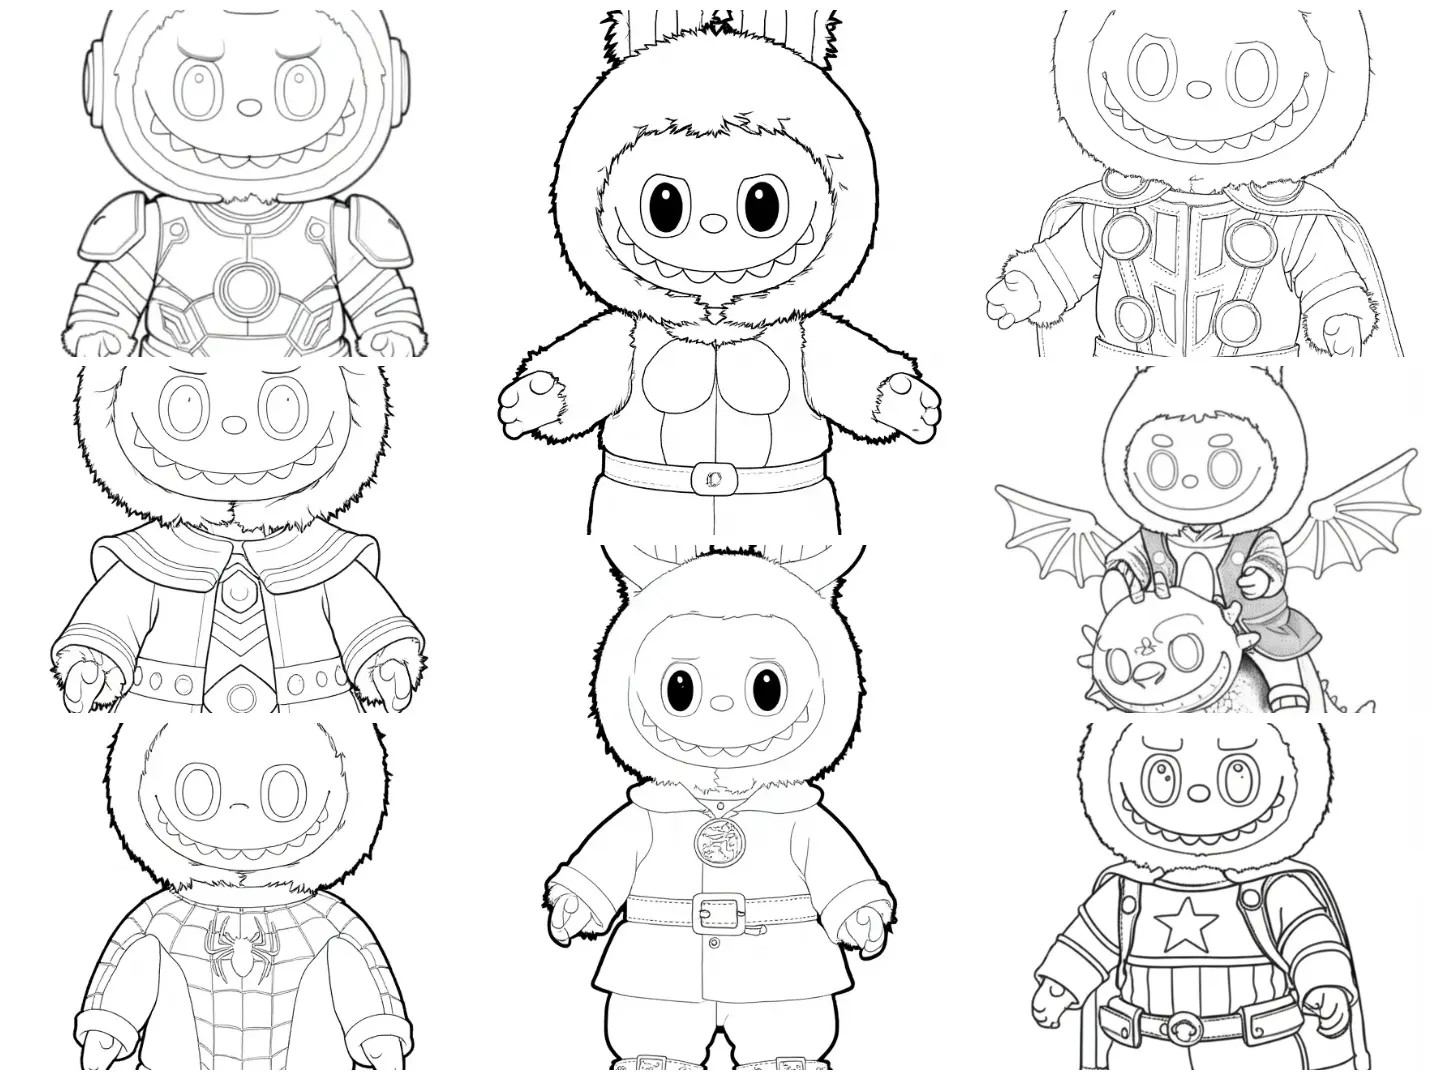
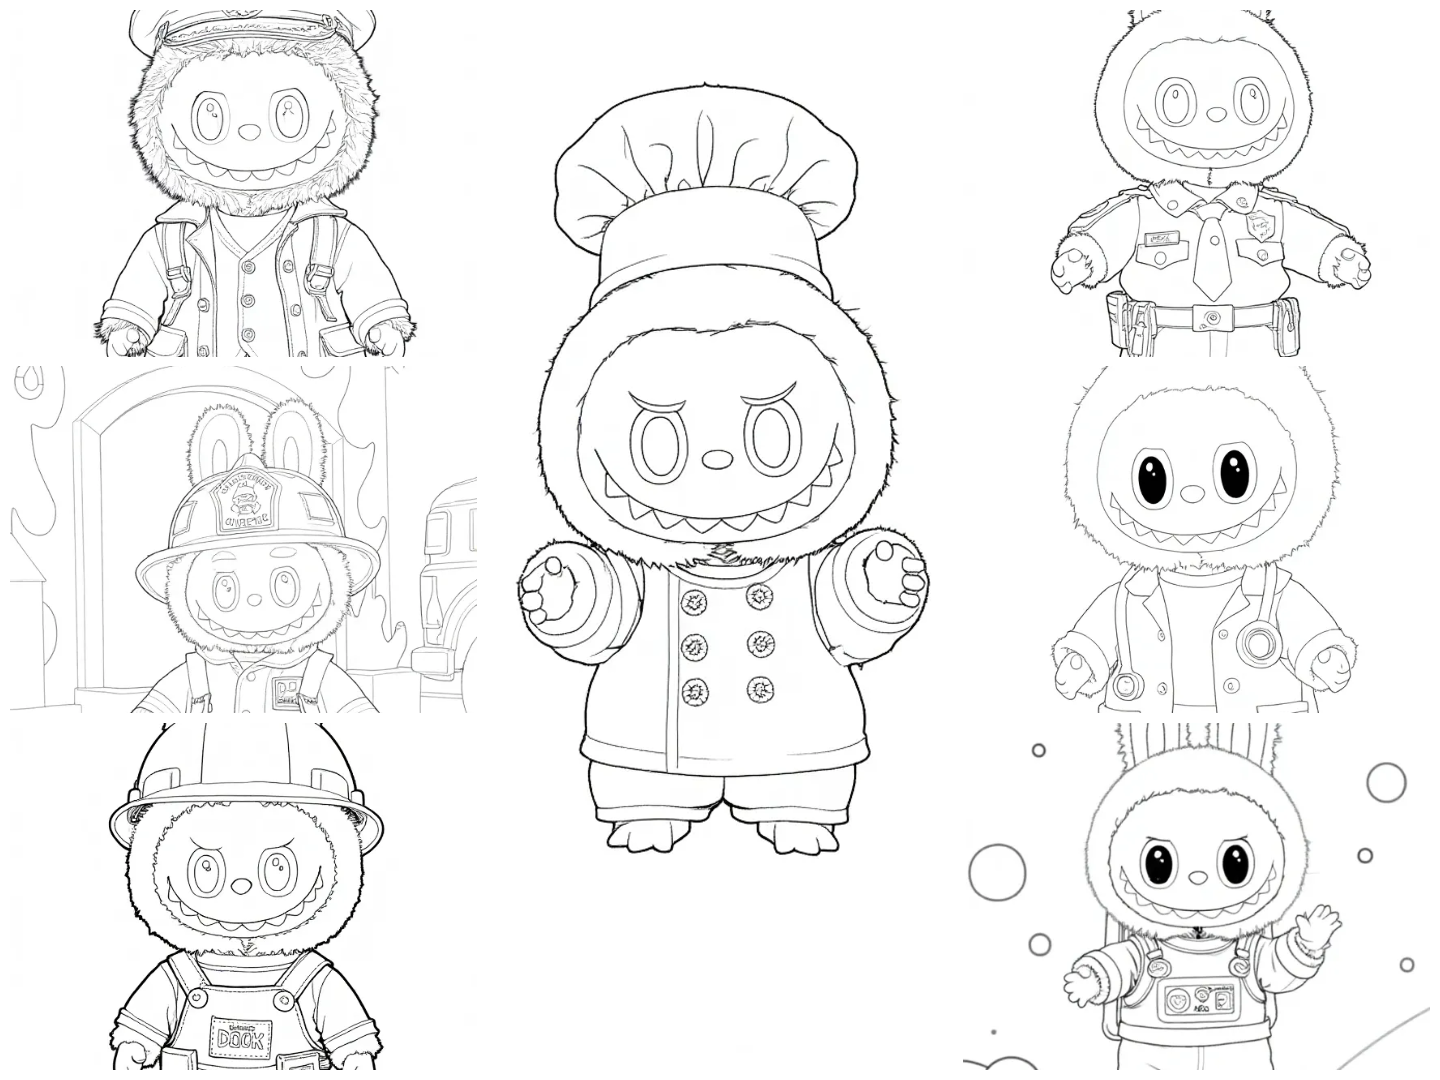
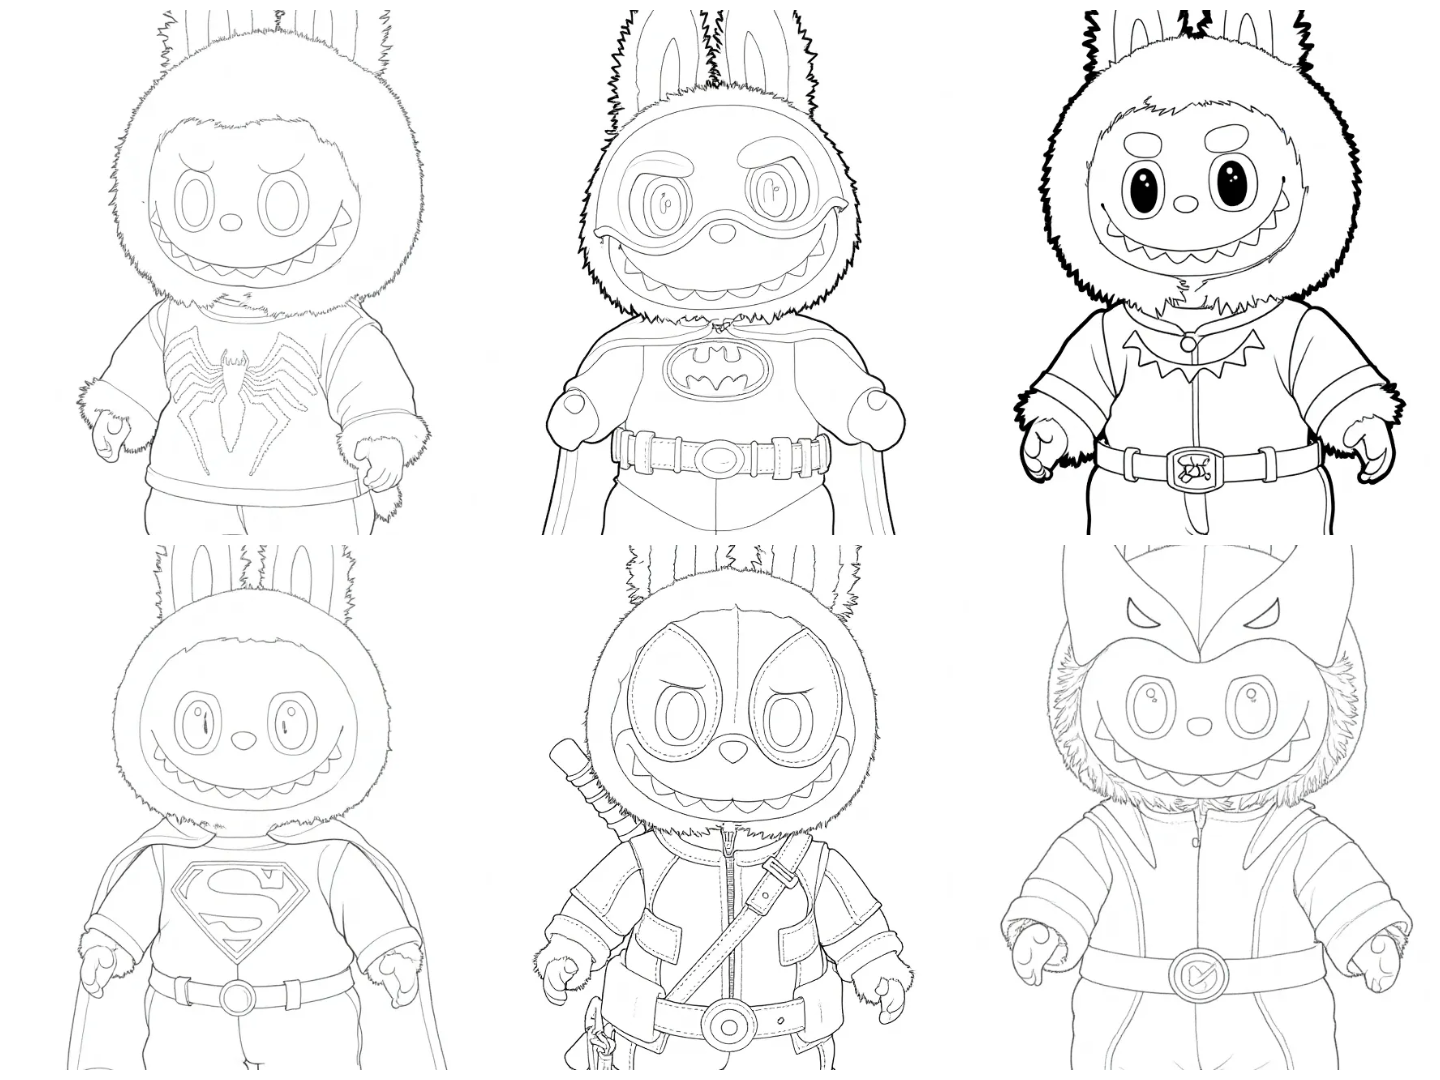
If you’re anything like me, you’ve fallen head over heels for the mischievous, buck-toothed charm of Labubu. There’s just something about that little monster that sparks joy. I’ve spent countless happy hours coloring in pages of Labubu and his friends, trying to capture the whimsical energy of the Pop Mart universe.
But then comes the big question: what do you do with all those beautifully colored pages? Tucking them away in a folder feels like a crime. These little works of art deserve to be seen! That’s when I started experimenting, and I discovered that a finished coloring page is the perfect starting point for some truly amazing crafts. It’s a way to bring your fandom off the page and into your everyday life.
Whether you’re a seasoned crafter or just looking for a fun way to spend a weekend, I’ve got you covered. Here are 10 of my favorite craft ideas that will transform your Labubu coloring pages into unique treasures you can display, use, or share with fellow fans.
First, Who is the Mischievous Labubu?
For those who might be new to the craze, let’s get acquainted! You’ve seen the face, but you might not know the story.
A Quick Intro to the Pop Mart Sensation
Labubu is a key character in the universe of “The Monsters,” created by Hong Kong-based artist Kasing Lung. This adorable creature is a mischievous but kind-hearted elf-like monster with tall, pointed ears and a signature set of sharp teeth. Labubu and his friends, like Tycoco and Pato, live in a whimsical forest and get into all sorts of enchanting adventures. He became an international sensation through the blind box art toys from Pop Mart, a company known for its incredible artist collaborations.
Why We Love This Little Monster
What makes Labubu so special? For me, it’s the perfect blend of cute and quirky. He’s not a traditionally “perfect” character, and his mischievous grin gives him so much personality. Each new series release shows him in different costumes and scenarios, from sweet dessert themes to epic monster matchups. This versatility makes him incredibly fun to color and craft with—the possibilities are endless!
Prepping Your Labubu for a Crafting Adventure
Before we jump into the crafts, a little prep work goes a long way. Setting yourself up for success is key to making the process fun and the results fantastic.
Choosing the Right Coloring Page
The quality of your coloring page matters! Look for high-resolution images with clean, crisp lines. This will make coloring more enjoyable and cutting much easier. We have a whole gallery of amazing, high-quality designs you can download and print for free right here: [Link to our Labubu coloring page gallery]. I recommend printing a few different poses and sizes to have options.
My Favorite Coloring Tools (Markers vs. Pencils)
This is all about personal preference, but here’s my take:
- Alcohol Markers (like Copic or Ohuhu): These are my top choice. They provide smooth, vibrant, streak-free color that looks incredibly professional. They are perfect for capturing the bright, poppy look of the official art toys.
- Colored Pencils: A fantastic option for blending and shading. If you want to add more texture and depth to Labubu’s fur, colored pencils give you amazing control.
- Gel Pens: Don’t forget the details! I use white or metallic gel pens to add little highlights to the eyes and teeth, which really makes the character pop.
Essential Craft Supplies to Have on Hand
You don’t need a giant art studio. Here’s a basic list of what I keep nearby:
- Good, sharp scissors and a craft knife for detailed cuts
- Glue sticks, clear craft glue (like Tacky Glue), and a hot glue gun
- White cardstock (for printing and for mounting your cutouts)
- A self-healing cutting mat and a metal ruler
- Fun extras: glitter, glossy sealant spray, sticker paper, shrink plastic
Craft Idea #1: Labubu Bookmarks for Your Favorite Reads
This is a simple, practical, and super satisfying craft. Every time you open your book, you’ll be greeted by Labubu’s cheerful face.
What You’ll Need
- A finished Labubu coloring page, colored in
- Cardstock
- Scissors
- Glue stick
- Hole punch
- Ribbon or embroidery floss for a tassel
Step-by-Step Instructions
- Color and Cut: Choose a Labubu that has a relatively simple silhouette. After coloring, carefully cut it out.
- Mount it: Glue the Labubu cutout onto a piece of sturdy cardstock. You can then cut a simple rectangle bookmark shape around it, or follow the character’s outline for a shaped bookmark.
- Laminate (Optional but Recommended): To make your bookmark last, I highly recommend laminating it. You can use self-adhesive laminating sheets which are super easy to use. This protects it from wear and tear.
- Add the Finishing Touches: Punch a hole at the top of the bookmark. You can make a simple tassel by looping and tying some embroidery floss, then attach it through the hole.
Pro-Tip: Create a whole set! Make a bookmark featuring Labubu, one with Tycoco, and one with Zimomo to have a whole monster crew for your library.
Craft Idea #2: Custom Labubu Stickers for Your Gear
Unleash your inner sticker fiend! This is one of my favorite ways to personalize everything from my laptop to my planner. Store-bought stickers are great, but ones you’ve colored yourself are so much more special.
Materials List
- Your colored Labubu pages
- Full-sheet sticker paper (I prefer the vinyl waterproof kind)
- Scissors or a cutting machine (like a Cricut or Silhouette)
- Optional: Clear laminate overlay for extra durability
How to Make Them
- Print on Sticker Paper: If you haven’t colored your pages yet, you can print the designs directly onto the sticker paper. Otherwise, you can use a scanner to digitize your colored artwork and then print it.
- Color Your Heart Out: Color the designs directly on the sticker sheet. Markers work great for this!
- Protect Them: Before cutting, you can apply a clear laminate sheet over your designs. This makes them scratch-resistant and waterproof—perfect for a water bottle.
- Cut Them Out: Carefully cut around each Labubu design. I like to leave a small white border around the edge, as it gives them a classic, professional sticker look. If you have a cutting machine, this step is lightning fast!
Now you have a set of one-of-a-kind stickers to decorate your world. They also make amazing gifts for other Pop Mart fans.
Craft Idea #3: A 3D Shadow Box Scene
Ready for a more advanced project? A shadow box lets you build a miniature 3D world for your Labubus. It looks stunning on a shelf and is a true homage to the character.
Supplies for Your Miniature World
- Several colored Labubu pages with characters of different sizes
- A shadow box frame (available at any craft store)
- Foam mounting tape or small foam blocks
- Scrapbook paper for the background
- A craft knife for precise cutting
Creating Layers for a 3D Effect
- Design Your Scene: Choose a background paper for your shadow box (maybe a forest or galaxy theme).
- Plan Your Layers: The key to the 3D effect is layering. Decide which elements will be in the foreground, middle ground, and background. For example, a large Labubu in the front, smaller trees in the middle, and a moon in the very back.
- Cut Everything Out: Carefully cut out all your chosen characters and scenic elements.
- Build from the Back: Start by gluing your background elements flat against the back of the shadow box.
- Add Dimension: For the middle ground elements, use one layer of foam mounting tape on the back. This will raise them slightly off the background. For the foreground elements, use two or even three layers of foam tape to make them pop even more.
Displaying Your Pop Mart Universe
Place your finished shadow box on a bookshelf next to your art toy collection. The way the light catches the different layers is truly magical.
Which Labubu Craft Should You Try First?
With so many fun options, it can be tough to decide where to start. I made this handy table to help you pick the perfect project based on your skill level, time, and who you’re crafting with!
| Craft Idea | Skill Level | Est. Time | Best For… |
| Bookmarks | Beginner | 20-30 minutes | Kids, Teens, Adults |
| Custom Stickers | Beginner | 30-40 minutes | Teens, Adults |
| 3D Shadow Box | Intermediate | 1-2 hours | Adults, Patient Teens |
| Fridge Magnets | Beginner | 25 minutes | Kids, Teens, Adults |
| Greeting Cards | Beginner | 20 minutes | All Ages |
| Shrink Plastic | Intermediate | 45-60 minutes | Teens, Adults (requires oven) |
| Party Garland | Beginner | 30-45 minutes | All Ages |
| Decoupage Box | Intermediate | 1 hour + dry time | Teens, Adults |
| Custom Coasters | Intermediate | 45 minutes + dry time | Adults |
| Wall Collage | Beginner | 1 hour | Teens, Adults |
Export to Sheets
(The table includes all 10 ideas I’m covering—keep reading for instructions on the rest!)
More Amazing Labubu Craft Ideas!
Let’s keep the creative train going! Here are six more projects, ranging from quick and easy to seriously impressive.
Craft Idea #4: DIY Labubu Magnets for Your Fridge
Turn your refrigerator into a Pop Mart gallery! This is just as easy as making stickers. You’ll need adhesive magnet sheets. Simply color and cut your Labubu, mount it on cardstock for thickness, and then stick it to the magnet sheet and cut it out one last time. For extra protection, you can spray it with a clear acrylic sealant, which you can find at any art supply store like Blick Art Materials.
Craft Idea #5: Personalized Labubu Greeting Cards
A handmade card is always special. Just fold a piece of cardstock in half, and glue your beautifully colored Labubu cutout on the front. Use some fun letter stickers or your best handwriting to add a message like “Have a Monstrously Good Birthday!” or “Just Popped By to Say Hi!”
Craft Idea #6: Shrink Plastic Labubu Keychains
This feels like actual magic. You’ll need special shrink plastic sheets (Shrinky Dinks is a popular brand). You color your Labubu directly on the plastic, cut it out, and punch a hole. Then, an adult places it in the oven for a few minutes. You get to watch as it shrinks down to a small, hard, and durable plastic charm. Once it cools, just add a keychain ring!
Craft Idea #7: Labubu-Themed Party Decorations
Hosting a party for a fellow fan? Your coloring pages are the perfect source for custom decorations.
- Garland: Cut out 8-10 colored Labubus, punch two holes in the top of each, and thread them onto a long piece of string or ribbon.
- Cupcake Toppers: Glue smaller Labubu cutouts to toothpicks and stick them in your cupcakes for an instant theme.
Craft Idea #8: Decoupage a Phone Case or Trinket Box
Decoupage is the art of decorating an object by gluing paper cutouts onto it. You’ll need several small, colored Labubu cutouts and a bottle of Mod Podge. Paint a thin layer of Mod Podge on your object (a clear phone case or wooden box works great), place your cutout, and then paint another layer over the top. It dries clear, sealing your design. Repeat until you love the look!
Craft Idea #9: Custom Coasters for Your Desk
Protect your surfaces in style. Get some cheap blank ceramic tiles from a hardware store. Glue your colored Labubu (cut to size) onto the tile. Then, seal it with several coats of Mod Podge or a waterproof sealant. Glue a small piece of cork or felt to the bottom to prevent scratching, and you’ve got functional fan art.
Craft Idea #10: Labubu Wall Art Collage
If you have a lot of finished pages, why not turn them into a single statement piece of art? Get a large picture frame and arrange your favorite colored Labubus inside in a cool collage. Overlap them, tilt them at different angles, and mix in characters and background elements. It’s a fantastic way to display a lot of your work at once.
Your Labubu Crafting Questions, Answered (FAQ)
You’ve got questions, I’ve got answers! Here are a few things people often ask me when we start talking about paper crafts.
What kind of paper is best for these Labubu crafts?
I always, always recommend printing your coloring pages on matte white cardstock (around 65 lb or 176 gsm). Regular printer paper is just too flimsy. It can wrinkle when you color with markers and tears easily when cutting. Cardstock gives every single project a sturdier, more high-quality feel right from the start.
How do I make my crafts look more professional?
Three little tricks make a huge difference:
- Cut Carefully: Use a sharp craft knife for intricate details. It gives you cleaner edges than scissors.
- Add Highlights: After you’re done coloring, use a fine-tipped white gel pen to add tiny dots of light to Labubu’s eyes and any shiny parts of his costume. It makes him look so much more alive.
- Seal Your Work: A quick spray of a clear acrylic sealant (in a glossy or matte finish) can even out the colors and protect your project from smudging and fading.
Where can I find good Labubu coloring pages?
While a Google search can work, I recommend looking on platforms like Pinterest or fan art sites for unique designs. And, of course, you can always browse our collection right here on the blog, where we’ve gathered some of our favorite high-resolution pages for you.
It’s Time to Create!
Coloring is a wonderful, relaxing hobby, but it doesn’t have to end when you put your markers down. I hope these ideas have inspired you to look at your stack of Labubu pages as a treasure chest of potential. Each one is a ticket to a new creative adventure.
The best part about crafting is that there are no rules. Mix these ideas, come up with your own, and just have fun. Turn on some music, pour yourself a cup of tea, and enjoy the process of making something uniquely yours.
I would absolutely love to see what you create! If you share your projects on social media, consider using a hashtag so other fans can get inspired by your amazing work. Happy crafting!


